Introduction
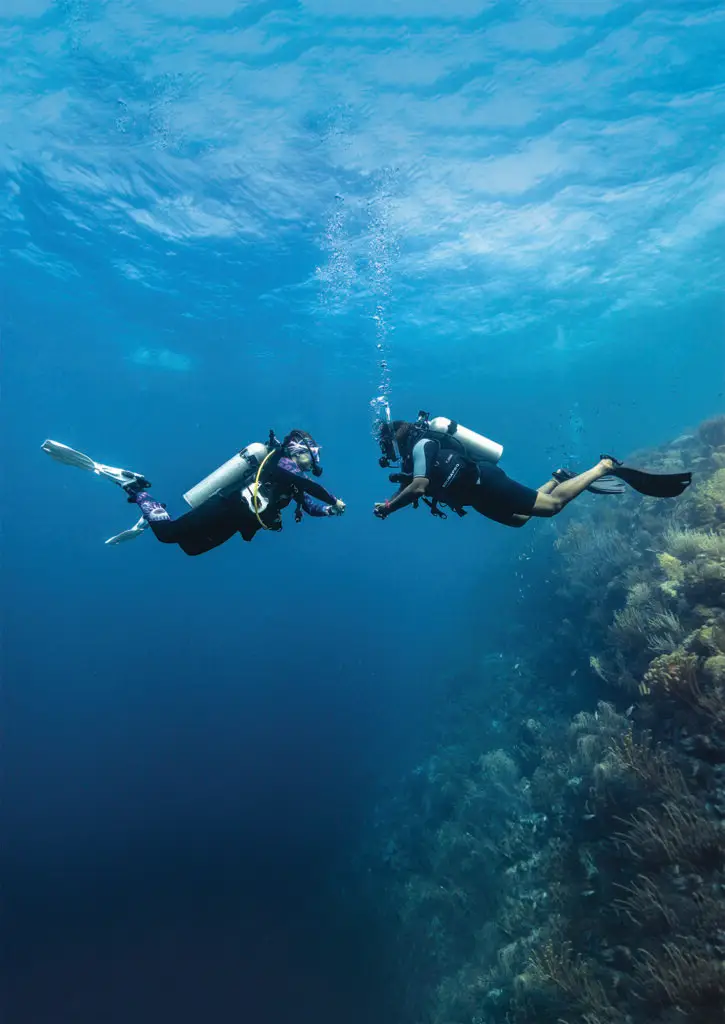
 Picture this: You’re on a drift dive, and the current is picking up. Everyone else is flapping their fins like panicked seagulls, fighting to stay close to the group. But you? You’re the diver calmly holding the flag reel, two fingers lazily guiding the line, locked into perfect neutral buoyancy. With a subtle exhale, you sink just enough to peer into a crevice. A slow inhale lifts you over a coral head. No frantic inflator button mashing. No accidental reef collisions. Just you, gliding like a sea turtle on cruise control. That’s the power of buoyancy mastery—and it’s not just for ‘lazy’ divers. It’s how you turn every dive into a zen experience.
If you’re touching your inflator more than once or twice per dive—or worse, ‘yo-yoing’ between the surface and seabed—you’re working too hard. Buoyancy isn’t just about avoiding embarrassment. It’s the difference between feeling like a bull in a china shop and moving through the water like it’s your second home. Let me show you how to ditch the inflator and let physics do the work.
The Science of Buoyancy
(Or: Why You Don’t Need to Fight the Water)
Let’s get one thing straight: Buoyancy isn’t magic. It’s just physics—and once you understand the basics, you’ll stop wrestling with your gear and start floating like you’re weightless.
Archimedes’ Principle for Divers
2,300 years ago, a Greek dude named Archimedes shouted “Eureka!” in his bathtub and discovered this rule:
“An object submerged in water is buoyed up by a force equal to the weight of the water it displaces.”
Translation for divers:
- If you weigh less than the water you push aside, you float (positive buoyancy).
- If you weigh more, you sink (negative buoyancy).
- If you’re perfectly balanced, you hover (neutral buoyancy).
Think of it like this:
- Your body + gear = total weight.
- The water you “take up” = displaced water.
Neutral buoyancy happens when these two forces cancel each other out.
The 3 Levers of Buoyancy Control
You’re not at the mercy of physics—you’ve got three tools to tweak your buoyancy:
- Your BCD
- Adds/removes air to change your volume (and thus, displacement).
- Pro Tip: Use tiny bursts. Your BCD isn’t an elevator button!
- Your Weights
- Adjusts your total weight. Overweighting is the #1 rookie mistake (more on that later).
- Your Lungs
- Your secret weapon! Inhaling expands your chest, displacing more water = rise. Exhaling = sink.
- “Your lungs are like a built-in elevator.”
The “Lazy Drift Dive” Example, Demystified
Remember how you lock the reel and coast? Here’s the science behind it:
- Set Your Weight: Properly weighted at the surface = less BCD fiddling underwater.
- Depth Lock: By staying at a consistent depth (e.g., 50ft/15m), water density changes minimally.
- Micro-Adjustments: Tiny breath changes (inhale/exhale) compensate for minor pressure shifts.
- Currents: Moving water adds horizontal force, but neutral buoyancy keeps you vertical.
Translation: You’re letting physics do the heavy lifting while you enjoy the ride.
Common Buoyancy Mistakes
(Spoiler Alert: Over weighting is 99% of Your Problem)
Let’s cut to the chase: If you’re struggling with buoyancy, you’re almost certainly carrying too much weight. Over weighting is the root of every buoyancy sin—yo-yoing, finning like a windmill, and reef collisions included. Here’s why it’s Public Enemy #1 and how to fix it.
 Why Overweighting Ruins Your Dive
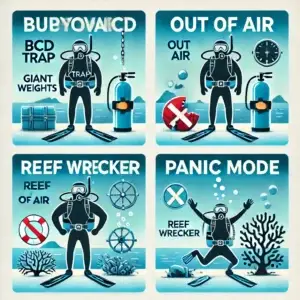
- The BCD Trap: Extra weight forces you to add more air to your BCD to compensate. More air = bigger buoyancy swings as depth changes.
- Air Hog Status: Fighting to stay down burns through your tank.
- Reef Wrecker: Overweighted divers sink like bricks when they stop moving, crashing into sensitive ecosystems.
- Panic Mode: Constantly fiddling with your inflator distracts you from enjoying the dive.
“Carrying excess weight is like wearing lead boots to a ballet. You’ll never move gracefully.”
How to Properly Weight Yourself
Step 1: The Surface Float Test
- At the surface, deflate your BCD completely.
- Take a normal breath and hold it.
- You should float at eye level (saltwater) or sink very slowly (freshwater).
- Too heavy? Remove weight in 2 lb (1 kg) increments.
- Too light? Add weight gradually.
Step 2: The Safety Stop Check
- At 15 ft (5 m) during your safety stop, you should be neutral with 500 psi (35 bar) left in your tank.
- If you’re sinking, you’re overweighted.
Step 3: Consider Your Gear
- Exposure Protection: Thicker wetsuits = more buoyant. Cold-water divers often need less weight than tropical divers.
- Tank Type: Steel tanks are heavier when empty; aluminum tanks become buoyant as they empty. Adjust accordingly.
Other Mistakes (That Usually Trace Back to Overweighting)
- Death-Gripping the Inflator
- Why it happens: Overweighted divers rely on their BCD to stay up.
- Fix: Proper weighting → use your lungs instead.
- Ignoring Trim
- Why it matters: Poor trim (e.g., feet dragging) forces you to overcompensate with your BCD.
- Fix: Distribute weight evenly (trim pockets help).
- Breath Control? What’s That?
- Why it happens: Overweighting makes breath adjustments feel useless.
- Fix: Once properly weighted, practice rising/sinking with just your breath.
The “Lazy Diver” Weighting Secret
(From Someone Who Hates Fussing with Gear)
- Start Light: It’s easier to add 1-2 lbs later than to haul excess lead.
- Ditch the “Safety Buffer”: That “just in case” weight is sabotaging you.
- Saltwater vs. Freshwater: Subtract 4-6 lbs (2-3 kg) in saltwater.
Step-by-Step Techniques for Perfect Buoyancy
Pre-Dive Prep
- Weight Check:
- How to perform a proper buoyancy check at the surface.
- Gear Configuration:
- Streamlining hoses and securing accessories.
Underwater Adjustments
- Breath Control:
- “Your lungs are your finest buoyancy tool.”
- Slow, deep breathing vs. shallow panicked breaths.
- BCD Micro-Adjustments:
- Tiny bursts of air, not big inflations.
- Trim Practice:
- Horizontal posture drills (e.g., “frog kick” positioning).
Pro Tips
- Use visual references (e.g., sand patches, coral heads) to gauge height.
- Practice in a pool or shallow site before open water.
Gear Considerations
(Because Even “Lazy” Divers Need the Right Tools)
Your gear isn’t just accessories—it’s your buoyancy control toolkit. Choose wisely, and you’ll spend less time fighting your equipment and more time floating effortlessly.
BCD Types: Back-Inflation vs. Jacket Styles
| Buoyancy Profile | Pros | Cons | Best For | |
|---|---|---|---|---|
| Back-Inflation BCDs | Air sits behind you, keeping you horizontal (better trim). | Streamlined for drift diving, less squeeze when inflated. | Surface floats you face-down (requires slight kicking). | Ideal for tech divers and anyone who wants to “ride the current” hands-free. |
| Jacket BCDs | Air wraps around your torso, hugging you like a life jacket. | Familiar feel, easier upright surface floats. | Can feel restrictive, may push you vertical underwater. | Great for new divers or photographers who need stability. |
Wetsuit Thickness: The Neoprene Floatation Effect
Thicker Suits = More Buoyant:
- A 7mm wetsuit adds significant floatation (you’ll need 4-8 lbs more weight vs. a 3mm).
- Compression: At depth, neoprene compresses, losing buoyancy. Adjust your weights accordingly!
- Saltwater vs. Freshwater:
- Freshwater divers need less weight than saltwater divers (since freshwater is less dense).
Pro Tip: “After switching from a 5mm to a 3mm, I dropped 6 lbs. Suddenly, buoyancy felt effortless.”
Weight Systems: Trim Pockets vs. Integrated Weights
| What | Why | Best For | |
|---|---|---|---|
| Trim Pockets | Small weights placed on your tank strap or BCD shoulders. | Fine-tune your balance (e.g., stop feet from floating up). | Perfect for dialing in that horizontal “lazy glide.” |
| Integrated Weight Systems | Weights slide into BCD pockets. | Convenient for dumping weights in emergencies. | Weight sits on your hips, which can tilt you forward if unbalanced. |
Pro Tip: “Most put most weights in their integrated for ditching and use the trim to level themselves out.”
Practice Drills
The Coin Challenge: Level Up Your Buoyancy Control
(No Quarters Were Harmed in This Exercise)
The Coin Challenge is a deceptively simple drill that separates buoyancy rookies from masters. It’s like yoga for divers—slow, focused, and humbling. Here’s how it works:
Setup
Location: A pool or calm, shallow open-water site (10-15 ft / 3-5 m depth).
Equipment: A single coin (or dive weight).
Goal: Hover motionless over the coin, using only your breath to rise/sink without touching it.
- Neutral Ascent/Descent: Move up/down 1 meter using only breath.
Step-by-Step
Place the Coin: Set it on the bottom (sand or pool floor).
Get Neutral: Achieve neutral buoyancy at eye level with the coin.
The Challenge:
Beginner: Hover over the coin for 30 seconds, maintaining your position.
Advanced: Slowly ascend/descend using breath control to “kiss” the coin with your mask (no hands!).
Rules:
No fin movements.
No touching your BCD inflator.
If you drift away, reset and try again.
Why This Works
Breath Awareness: Forces you to use lung volume (not your BCD) for micro-adjustments.
Trim Mastery: Teaches horizontal body positioning (critical for efficient diving).
Zen Focus: Distractions fade—you’ll enter a flow state, like underwater meditation.
Pro Tip: “I almost failed my IDC due to Buoyancy Control. I was awesome in real life scenarios, think in wrecks or reefs. It wasn’t till someone reminded me to pick a spot and focus on it that I nailed it in the pool.”
Conclusion: Buoyancy Mastery—Where the Real Dive Begins
You’ve made it this far, which means you’re ready to stop working underwater and start flowing. Buoyancy control isn’t just a skill—it’s a superpower. It turns chaotic dives into serene adventures, air hogs into zen masters, and clumsy kicks into effortless glides.
But here’s the truth: Reading about buoyancy won’t magically make you better. You need to feel it. To practice it. To let it become as natural as breathing.
Your Next Step: Stop Dreaming, Start Floating
If you’re ready to:
Hover motionless like a leaf in a current…
Double your air efficiency (goodbye, 30-minute dives)…
Dive with confidence in any conditions, from caves to coral reefs…
…then it’s time to level up.
Join My Peak Performance Buoyancy Course
In this hands-on workshop, you’ll:
Master micro-adjustments with breath and trim.
Crush the Coin Challenge (and laugh at how easy it becomes).
Ditch bad habits that sabotage your dives.
“Most students cut their air consumption by 30% in just two sessions. Imagine what you’ll save on a liveaboard!”
10. Bonus: FAQ
- “How long does it take to master buoyancy?
- One does not ever master buoyancy, one is always practicing and learning.
- “Can I practice buoyancy without a BCD?”
- Absolutely. I will take 1 or 2 pounds into the pool with me and hold a normal breath at the service and practice sinking and holding a position in the pool. Buoyancy control is all about breath management in open circuit. So once you find your perfect weight for no gear, you can just hold that weight and practice anytime.
- “Why do I still struggle even with perfect weighting?”
- Ok.. you are perfect weighted (Are you sure??????? If you have over 10 pounds I’m going to question it). Your trim is right. but your still struggling. The micro adjustments you are missing is where you put your hands (Further out will lean you more foward, held tight to chest will lean you more upright) or your feet position or movement. Even micro finning will kill ya in the coin challenge. That’s why in most classes we teach to hold your fins. It keeps your arms and feet tight and steady.

